quadcopter (openpilot Coptercontrol)
1. Introduction
I recently built a small + mode flying quad, based on the OpenPilot CopterControl Platform. The Platform is far more advanced compared to the KK Quadcopter board as mentioned in my other build log. The CC board and related software is worth every penny in my opinion.
The documentation on the project is very good. Therefore I will only go into the details and give some tips and tricks on this board. If you want to read more on multicopter basics, please read the document on this site regarding this subject.
The CC board gets you an pretty stable quad, which is perfect for First Person View (FPV).
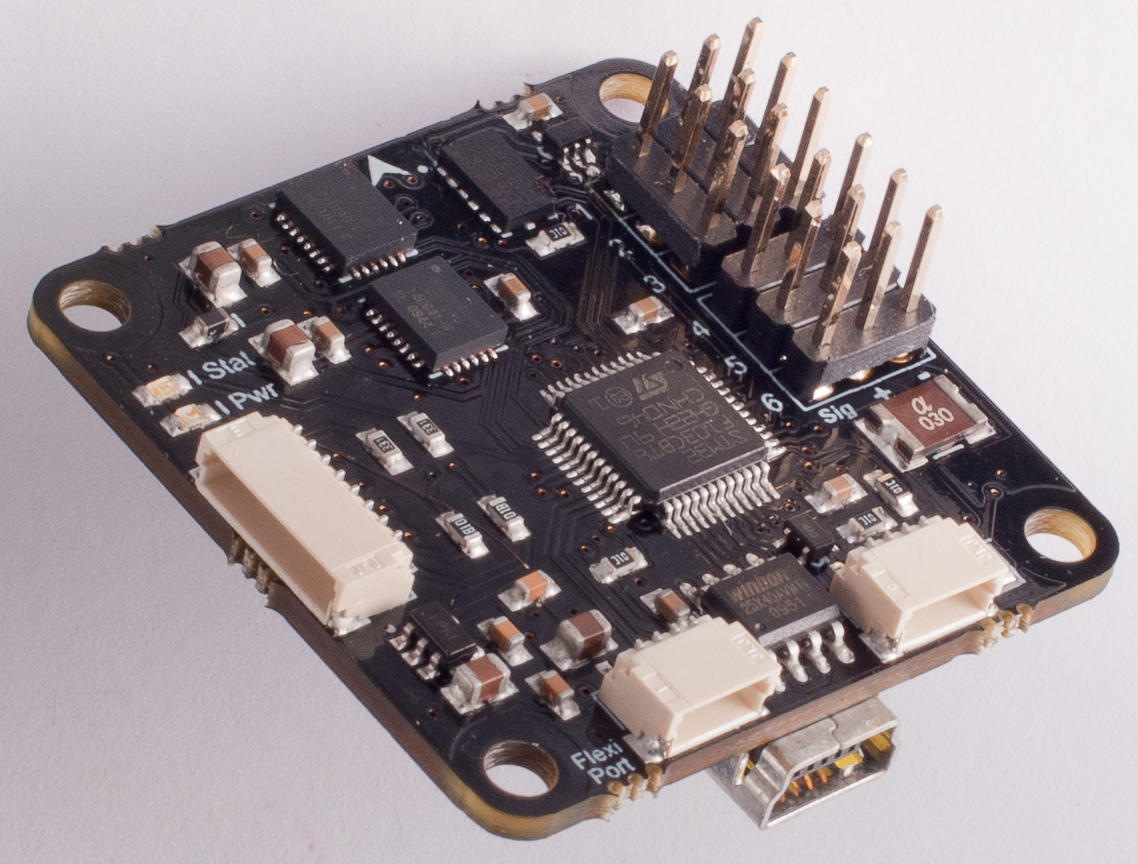
2. Hardware
The CC board is very tiny, compared to other boards I worked with. It has some connectors on it, which provide communication to peripherals such as the receiver, optional bluetooth module and even a Spektrum satellite receiver.
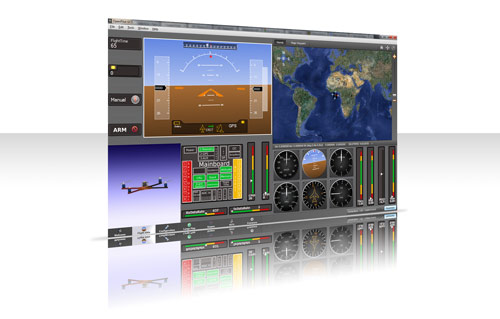
3. Software
The CC board comes with a very thorough software control tool, called the GCS (OpenPilot Ground Control Station)
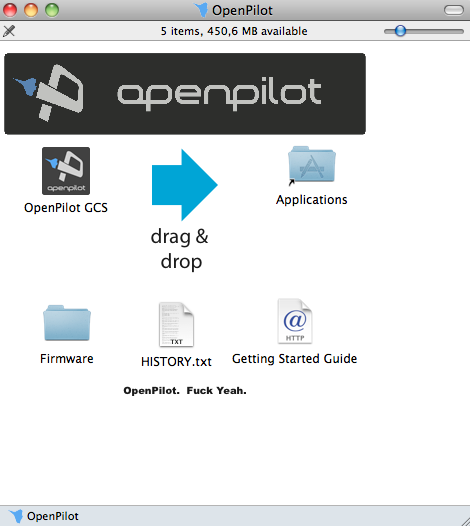
3.1 Software Installation
For both Mac and Windows versions of the software, your should be aware that there is a direct relation between software version number and firmware version. A downloaded GCS therefore comes always with firmware.
In the Mac version, the firmware is within the DMG file and NOT in the application folder where it is later installed.
In the Windows version, the firmware can be found after installation within: (C:\Users\%username%\AppData\Local\OpenPilot\Firmware).
The GCS software can be found here.
4. Hardware installation
For hardware installation, I suggest you RTFM as it is very thorough.
4.1 Receiver cabling
Receiver cabling setup was not very clear to me, so I included a picture of my wiring (Orange RX receiver in combination with Spektrum DX6i). More background on this cabling here.

4.2 ESC settings and calibration
The software won't calibrate your ESC's. You have to do this manually according to your ESC manual. You can read more on this in the KK build log on this website, as it is a general process.
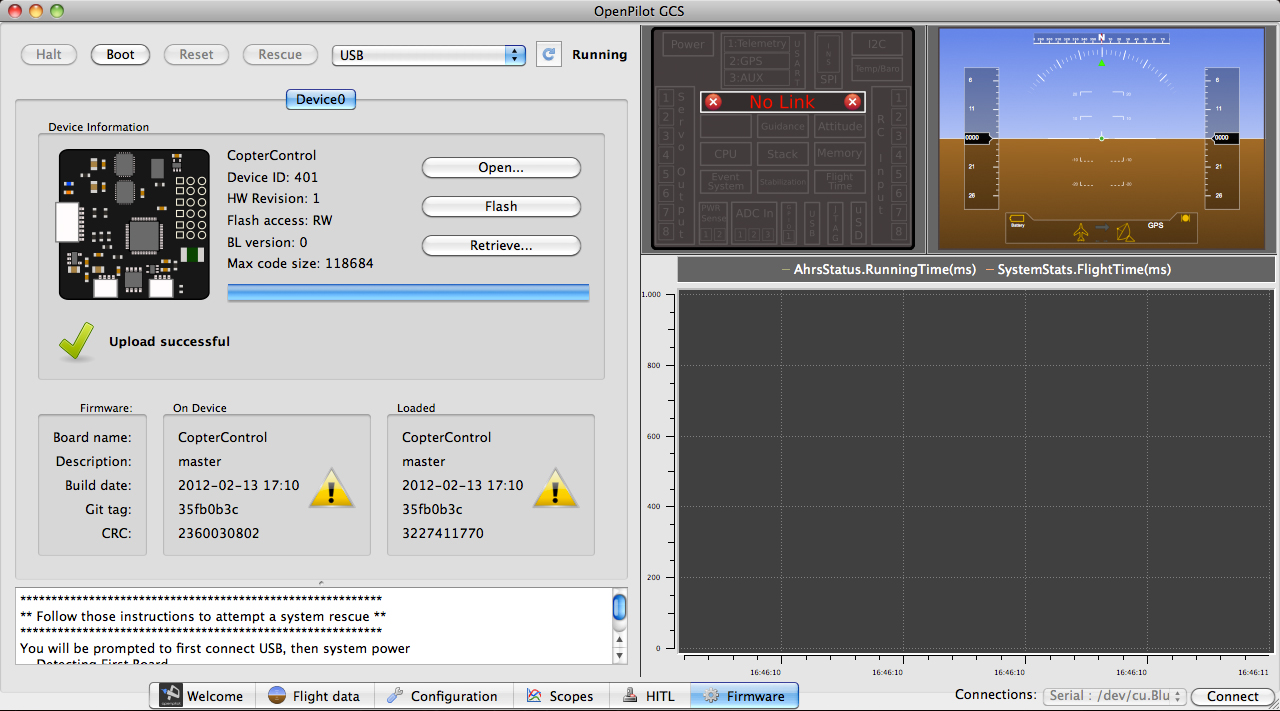
4.3 Setup after hardware installation and wiring
The setup video shows the steps after finishing the wiring. Before you go watching, you should know that some steps are different from the video due to an older GCS/ firmware version used in the video.
For instance, the transmitter setup is carried out differently (wizard like), and is easier to setup. The same applies to firmware upload/update, but not really very different.
Use common sense in future versions as well.
![]()
The instructional video:
That's it. If all goes well, you're done!
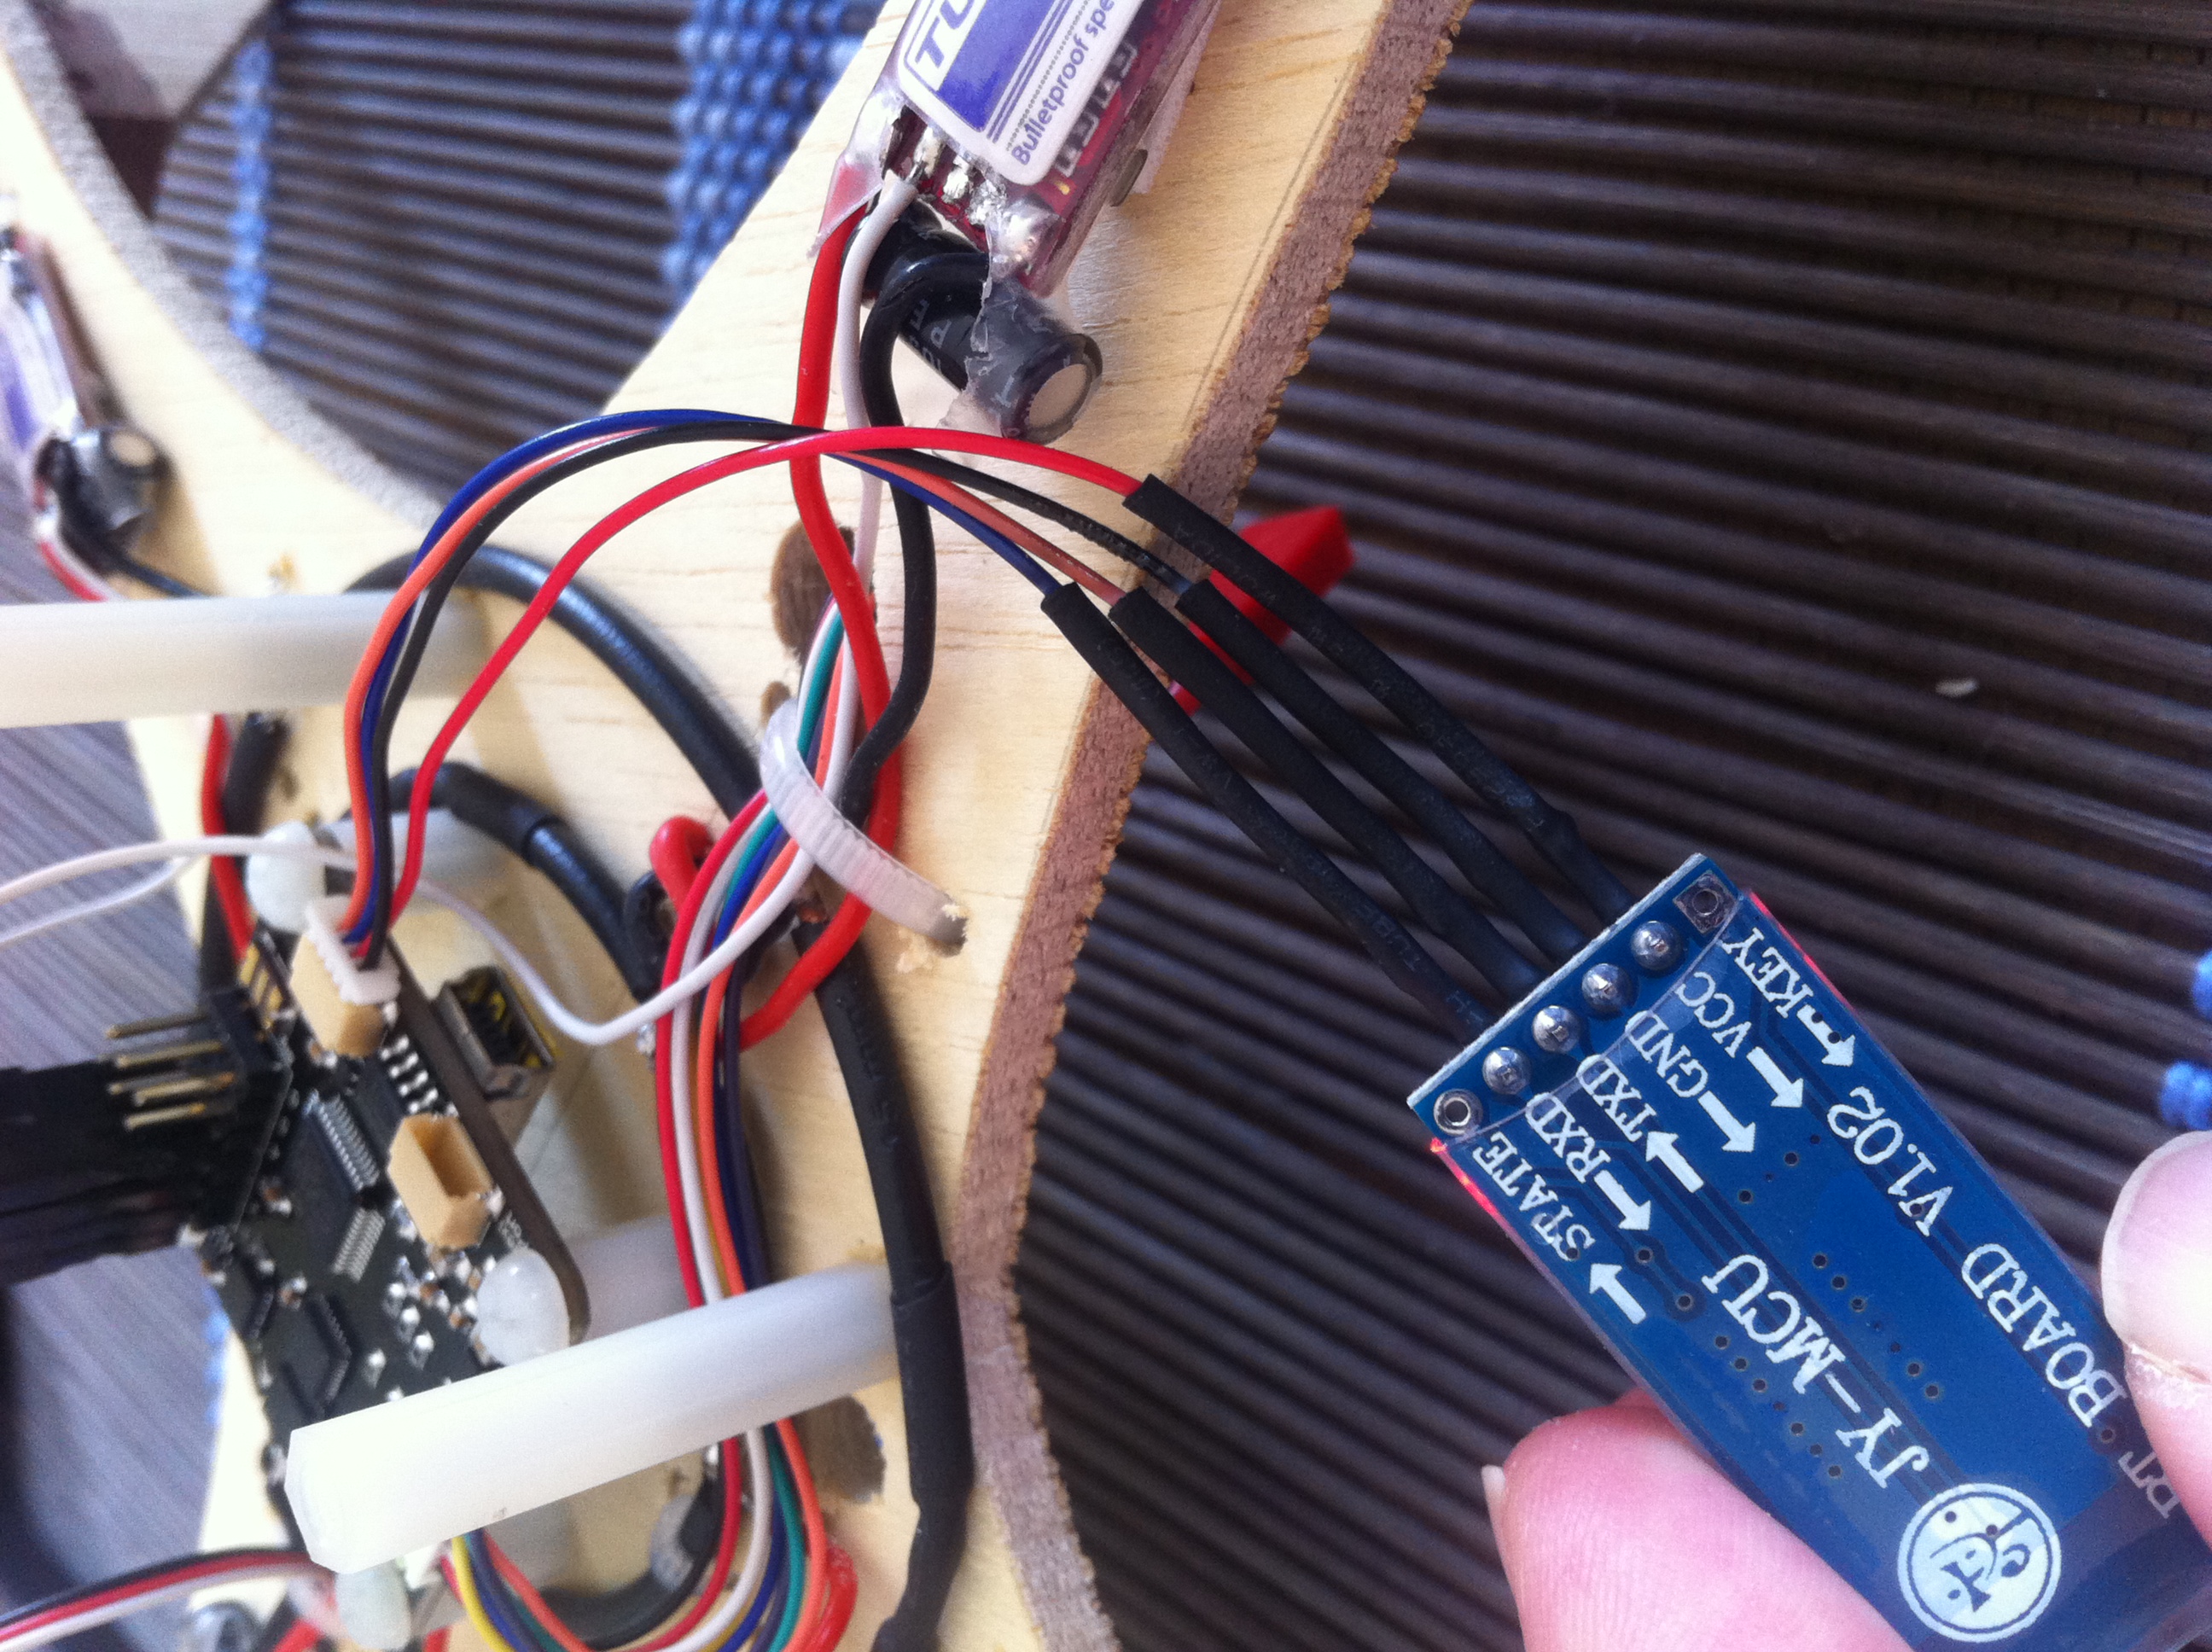
5. Bluetooth
An additional step is to use a bluetooth connection for communication between the board and the GCS. This is very convenient when setting up the quad. There is a good manual on this available and a video which is showed here. The bluetooth module is listed in the shopping list on the bottom of this document.
Note: The wiring as suggested in the video, did not apply to my bluetooth module wiring. I have the impression there's an error in the video. This is my setup:
6. Problems
During my first test flights, based on standard settings, I had some problems with the quad preferably wanting to fly in North-East direction. You can clearly see this from 0:23 in underneath video. I really had to compensate on the transmitter agressively.
When your first setup and quad flying is not your desirable level, please take the time to go through underneath video, to get your tuning right. It will give you a good understanding on how this works. Also worked for me.
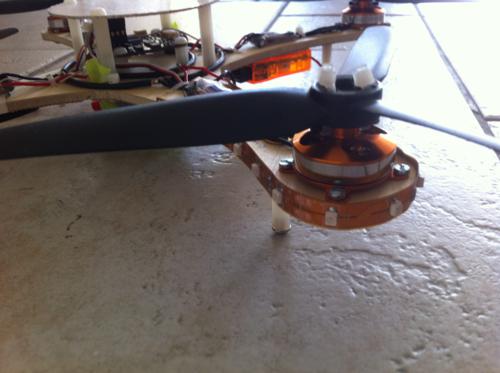
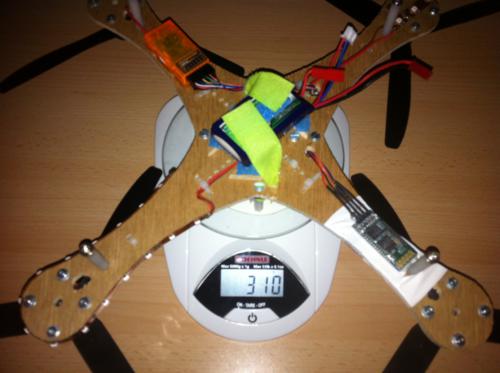
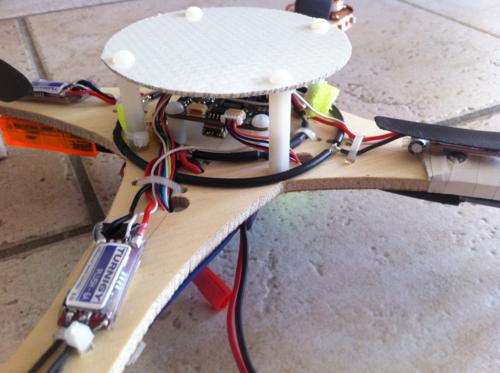
7. My project
I built a small size quad, in + mode. As you can see, I setup the board so that the leds face me instead of being in the front, as shown in the 'problems' video. I can really suggest that, as it is an easier point of reference when it's very far away and you are trying to get it to you.
8. Shopping list for this Quad
Hobbyking: Use these links to get a discount on the items yourself and help me maintain this site. ;-) Be sure you create a Hobbyking username first.
TURNIGY 2204-14T 19g Outrunner
TURNIGY Plush 6A /.8bec/6g Speed Controller
Turnigy nano-tech 850mah 2S 25~40C Lipo Pack
GWS HD8040 3 Blade Prop Counter Rotate (2pc)
GWS HD8040 3 Blade Prop (2pc pack)
OrangeRx R610 Spektrum DSM2 6Ch 2.4Ghz Receiver
Turnigy High Density R/C LED Flexible Strip-Red (1mtr)
OpenPilot Store:
Here (for the CC board, cabling and bluetooth module)
Other things :
Epoxy-glassfiber plate 1,5mm (Dutch store)
Nylon spacers (search on Ebay)
Overview
- Multicopter basics
- KK Quadcopter build log
- CopterControl Quadcopter build log
- LiPo need calculator
- Disclaimer